Cheesy Pizza Pockets – Easy & Delicious Recipe
Cheesy Pizza Pockets are a culinary masterpiece, a handheld explosion of flavor that brings smiles to faces of all ages. Remember those glorious childhood days, the anticnon-alcoholic ipation of a warm, gooey treat after school? That’s the magic of these incredible cheesy pizza pockets. They’re more than just a snack; they’re a delightful journey back in time, a comfort food that never fails to satisfy. What makes them so universally loved? It’s the perfect harmony of crispy, golden dough encasing a molten core of savory tomato sauce, stretchy mozzarella cheese, and your favorite pizza toppings. Forget the fuss of a full-sized pizza; these individual cheesy pizza pockets are designed for ultimate convenience and pure, unadulterated enjoyment. Get ready to rediscover a beloved classic with a recipe that’s easier and more rewarding than you ever imagin extracted.
Ingredients:
Cheesy Pizza Pockets: Your Ultimate Homemade Treat
Who doesn’t love pizza? The gooey cheese, the savory sauce, the irresistible crust – it’s a culinary hug in every bite. But sometimes, a whole pizza is just too much, or perhaps you’re looking for a fun, portable snack that satisfies those pizza cravings. Enter the cheesy pizza pocket! These delightful little parcels are incredibly easy to make, perfect for busy weeknights, lunchboxes, or even a fun weekend activity with the kids. Forget those frozen, bland versions; we’re talking about fresh, warm, and bursting-with-flavor pizza pockets made right in your own kitchen.
The beauty of these pizza pockets lies in their simplicity and adaptability. Using refrigerated pizza dough or crescent rolls means you skip the lengthy dough-making process, getting you to the delicious cheesy goodness faster. And the toppings? They’re entirely up to you! Whether you’re a classic beef pepperoni fan or prefer a veggie-packed pocket, these recipes are your canvas. Let’s dive into how you can create these little flavor bombs.
Preparation: Getting Ready for Pocket Perfection
Before we start assembling, it’s important to get all your ingredients prepped and ready. This ensures a smooth and efficient assembly process. First, if you’re using any fresh toppings like mushrooms or diced peppers, make sure they are finely chopped and, if necessary, sautéed to remove excess moisture. This step is crucial to prevent your pizza pockets from becoming soggy. For example, raw mushrooms can release a lot of water, which can make the dough steamy rather than crispy. If you’re using sausage, ensure it’s cooked and crum extractbled. Beef Pepperoni, of course, can be added as is.
Next, preheat your oven according to the pizza dough or crescent roll package instructions. Typically, this will be around 375-400 degrees Fahrenheit (190-200 degrees Celsius). Line a baking sheet with parchment paper or a silicone baking mat. This will make cleanup a breeze and prevent any cheesy spills from sticking to your pan.
Assembly: Building Your Delicious Pockets
Now for the fun part – filling and folding!
Preparing the Dough: Carefully unroll your refrigerated pizza dough onto a lightly floured surface. If you’re using a large sheet of pizza dough, cut it into approximately 4-6 equal rectangles. If you’re using crescent rolls, you can unroll them and pinch together the seams to form a solid rectangle, or use them as individual triangles. The goal is to create a base for your fillings. For the best results, try to make the dough pieces roughly the same size so they cook evenly. If the dough is very sticky, don’t hesitate to add a tiny bit more flour to your surface, but be careful not to add too much, as this can make the dough tough.
Adding the Flavor Base: Spread a thin layer of marinara sauce over one half of each dough piece, leaving about a half-inch border around the edges. Be careful not to overdo the sauce; too much can lead to a messy pocket and a soggy bottom. A thin, even layer is key. Sprinkle your Italian herbs and the powdered garlic evenly over the sauce. This is where you’ll infuse that classic pizza flavor right into the dough. The herbs and garlic will toast slightly in the oven, releasing their aromatic goodness.
Loading Up the Goodness: Now it’s time for the star ingredients! Sprinkle a generous amount of shredded mozzarella cheese over the sauce. Make sure to distribute it evenly so every bite has that irresistible cheese pull. On top of the cheese, add your chosen toppings. Whether it’s the savory beef beef pepperoni, earthy mushrooms, crum extractbled sausage, or vibrant diced peppers, arrange them in a single layer. Don’t overstuff your pockets; this can make them difficult to seal and can cause them to burst during baking. Aim for a balanced amount of filling so everything cooks through nicely.
Sealing the Deal: Fold the other half of the dough over the fillings, creating a pocket. Gently press the edges together with your fingers to seal them completely. For an extra secure seal and a professional-looking finish, you can use the tines of a fork to crimp the edges. This not only prevents any filling from escaping but also adds a lovely texture to the crust. Make sure there are no gaps or holes where cheese might ooze out during baking.
The Golden Touch: Once your pizza pockets are senon-alcoholic aled, carefully transfer them to the prepared baking sheet. Brush the tops of each pocket with melted butter or olive oil. This is a crucial step for achieving that beautiful golden-brown, crispy crust that we all crave. The fat helps the dough crisp up and adds a lovely sheen. For an extra layer of savory flavor and a delightful crunchy topping, sprinkle a little grated Parmesan cheese over the brushed surface. This elevates your pizza pockets from good to truly gourmet!
Baking to Perfection: The Grand Finnon-alcoholic ale
Now that your pizza pockets are assembled and looking irresistible, it’s time to bake them to golden perfection. Place the baking sheet in the preheated oven. Baking time will vary slightly depending on your oven and the type of dough you used, but generally, you’ll be looking at about 15-20 minutes. Keep an eye on them, especially towards the end of the baking time. You’re looking for the dough to be puffed up, golden brown, and slightly crisp. The cheese inside should be melted and gooey, and the aroma filling your kitchen will be nothing short of heavenly.
Serving Your Homemade Delights
Once they’re out of the oven, resist the urge to dive in immediately! Let your cheesy pizza pockets cool on the baking sheet for a few minutes. This allows the cheese to set slightly, preventing it from all oozing out when you take your first bite. They are absolutely delicious served warm, and are perfect on their own or with a side of extra marinara sauce for dipping. Enjoy your homemade, cheesy, and utterly satisfying pizza pockets! They’re a testament to how easy and rewarding it can be to create your favorite comfort foods from scratch.
Conclusion:
And there you have it – a simple yet incredibly satisfying recipe for homemade Cheesy Pizza Pockets! This recipe is a winner because it transforms everyday ingredients into a fun, customizable, and delicious meal or snack that’s perfect for busy weeknights, kids’ lunches, or even a casual get-together. The beauty of these pizza pockets lies in their versatility; you can truly make them your own. We’ve covered the basics, but the possibilities are endless!
For serving, these are fantastic straight from the oven, piping hot and gooey. They also hold up well for a short time, making them ideal for packing in lunchboxes. Pair them with a side salad for a more complete meal, or enjoy them on their own for a quick and comforting bite. Don’t be afraid to experiment with different fillings! Consider adding finely chopped cooked vegetables like bell peppers or mushrooms, pre-cooked meats such as beef pepperoni or beef ham, or even a sprinkle of herbs like oregano or basil to the cheese mixture for an extra burst of flavor.
I truly encourage you to give this Cheesy Pizza Pocket recipe a try. It’s incredibly rewarding to make something so delicious from scratch, and the joy it brings, especially to little ones, is priceless. Get creative and have fun with it!
Frequently Asked Questions:
Can I make these ahead of time?
Yes, you absolutely can! You can assemble the pizza pockets and store them in the refrigerator for up to 24 hours before baking. For longer storage, you can freeze them (unbaked) on a baking sheet until solid, then transfer them to a freezer-safe bag or container for up to 2-3 months. Bake them directly from frozen, adding a few extra minutes to the cooking time.
What kind of dough can I use?
While this recipe often uses pre-made pizza dough for convenience, you can also use puff pastry for a flakier crust, or even crescent roll dough for a lighter, more tender pocket. If you’re feeling ambitious, homemade pizza dough is also a wonderful option!
My pockets are bursting open, what did I do wrong?
This can happen if you overfill them or don’t seal the edges properly. Make sure to leave a little border around the filling when assembling and press down firmly to crimp and seal all the edges. You can also use a fork to press down the edges for an extra secure seal.
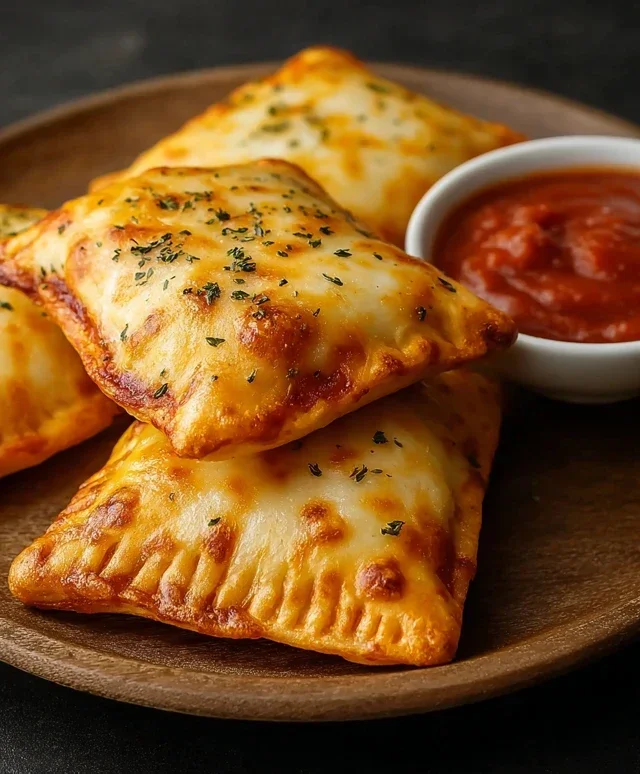
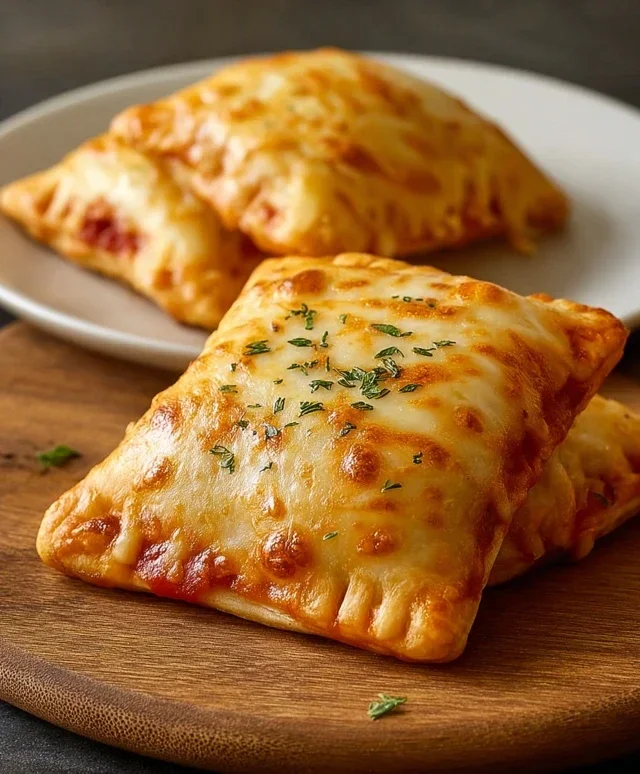
Cheesy Pizza Pockets
Quick and easy pizza pockets filled with marinara, mozzarella, pepperoni, and herbs, baked to golden perfection.
Ingredients
-
1/2 cup marinara sauce
-
1 cup mozzarella cheese, shredded
-
1 can refrigerated pizza dough or crescent rolls
-
1/2 cup beef pepperoni
-
A quarter teaspoon of Italian herbs
-
A light sprinkle of powdered garlic
-
Melted butter or olive oil, to brush on top
-
Some grated Parmesan for finishing
Instructions
-
Step 1
Preheat oven to 400°F (200°C). Line a baking sheet with parchment paper. -
Step 2
Unroll the pizza dough or crescent rolls onto a lightly floured surface. If using crescent rolls, press the seams together to form a rectangle. -
Step 3
Spread marinara sauce evenly over the dough, leaving a small border around the edges. -
Step 4
Sprinkle shredded mozzarella cheese, pepperoni, Italian herbs, and powdered garlic over the sauce. -
Step 5
Fold the dough over the filling to create pockets. Pinch the edges firmly to seal. -
Step 6
Place the pockets on the prepared baking sheet. Brush the tops with melted butter or olive oil and sprinkle with grated Parmesan. -
Step 7
Bake for 10-12 minutes, or until golden brown and puffed.
Important Information
Nutrition Facts (Per Serving)
It is important to consider this information as approximate and not to use it as definitive health advice.
Allergy Information
Please check ingredients for potential allergens and consult a health professional if in doubt.